The BSC Honeypot Token is a BEP20 standard token deployed on the Binance Smart Chain (BSC) network. BSC is one of the most popular blockchain networks for token creation due to its low gas fees (typically $0.10-$1.00 per transaction) and fast block confirmation times (approximately 3 seconds per block). This makes BSC an ideal choice for deploying honeypot tokens compared to Ethereum where gas fees can reach $20-$100 per transaction.
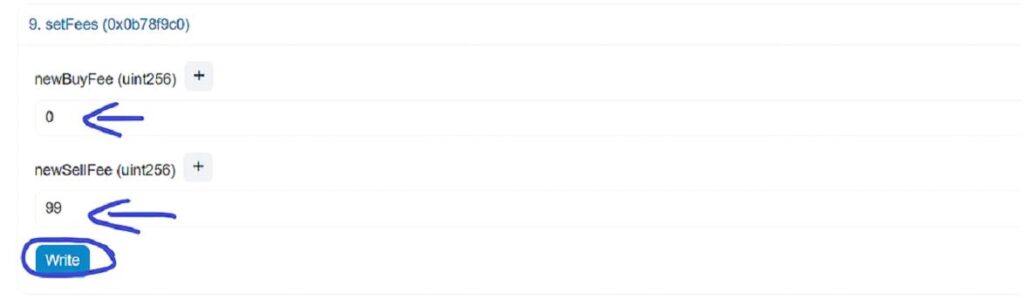
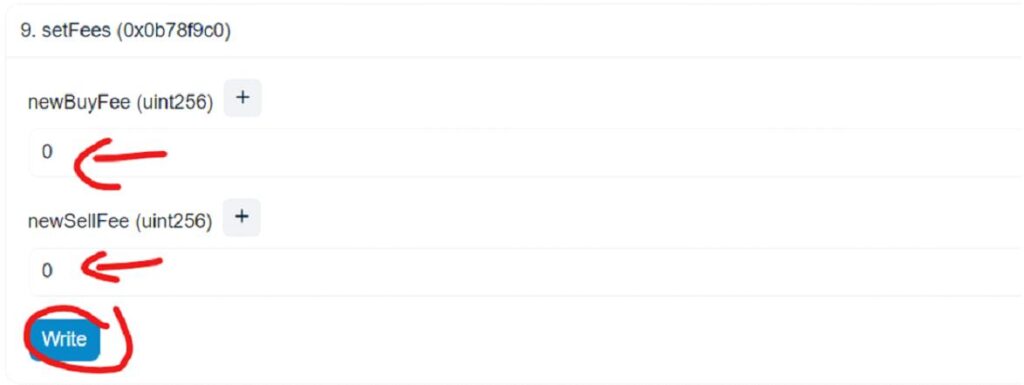
When you create a BSC honeypot token, you deploy a BEP20 smart contract that includes special mechanisms to control selling behavior. The token is then listed on PancakeSwap, the largest decentralized exchange on BSC, where it can be paired with BNB (Binance Coin) for trading. The honeypot mechanism uses the setFees function to toggle between normal trading mode (sellFee = 0) and honeypot mode (sellFee = 99).
BSC honeypot tokens are compatible with all major BSC wallets including MetaMask (with BSC network configured), Trust Wallet, and Binance Chain Wallet. The token contract can be verified on BSCScan.com, the official Binance Smart Chain block explorer, which increases credibility and investor confidence in the token.
This guide covers everything from setting up MetaMask with BSC network, deploying the BEP20 contract through Remix IDE, verifying on BSCScan, adding liquidity on PancakeSwap V2, and managing the honeypot switch on/off mechanism. All source code is available on our GitHub repository.
📂 View source code on GitHub: How-to-Create-Honeypot-Token | Create-Honeypot-Token
Why Choose BSC for Honeypot Token?
Low Gas Fees: BSC transactions typically cost $0.10-$1.00, compared to $20-$100 on Ethereum. This makes deploying contracts, adding liquidity, and managing the token much more affordable, especially for beginners who may need to make multiple transactions during the setup process.
Fast Transactions: BSC processes blocks every 3 seconds with finality, meaning your token deployment, verification, and liquidity additions are confirmed almost instantly. On Ethereum, you may wait 15-30 seconds per transaction during normal network conditions.
PancakeSwap Ecosystem: PancakeSwap is the largest DEX on BSC with billions in daily trading volume. Listing your BSC honeypot token on PancakeSwap gives it immediate exposure to millions of active traders worldwide. PancakeSwap V2 is recommended for new token listings as it provides better compatibility.
BEP20 Standard: BSC uses the BEP20 token standard, which is functionally identical to ERC20 on Ethereum. This means the same Solidity smart contract code works on both networks with minimal modifications. Our honeypot token code is fully compatible with the BEP20 standard.
BSCScan Verification: BSCScan provides a free contract verification service that makes your smart contract source code publicly viewable. Verified contracts appear more trustworthy to investors and are essential for building credibility in the BSC ecosystem.
BSC Network Configuration for MetaMask
To deploy a BSC honeypot token, you first need to configure MetaMask for the Binance Smart Chain network. Open MetaMask, click the network dropdown at the top, and select "Add Network". Enter the following details: Network Name: BNB Smart Chain | RPC URL: https://bsc-dataseed.binance.org/ | Chain ID: 56 | Symbol: BNB | Block Explorer: https://bscscan.com
After adding the BSC network, you need BNB tokens in your wallet for gas fees. You can purchase BNB on Binance exchange and withdraw it to your MetaMask wallet address on the BSC (BEP20) network. A minimum of 0.1 BNB is recommended for contract deployment and verification, though you will need additional BNB for adding liquidity to PancakeSwap.
Step-by-Step Guide: BSC Honeypot Token
Step 1: Install Metamask & Setup Remix IDE
To get started, you need two essential tools: a Metamask wallet and Remix IDE. Metamask is a browser extension that allows you to interact with the blockchain. Remix IDE is an online development environment where you will write, compile, and deploy your smart contract.
1. Install Metamask:
- Download and install Metamask extension for Google Chrome.
- Create a new wallet or import an existing one.
- Save your seed phrase securely - never share it with anyone.
- Fund your wallet with BNB (for BSC) or ETH (for Ethereum) for gas fees.
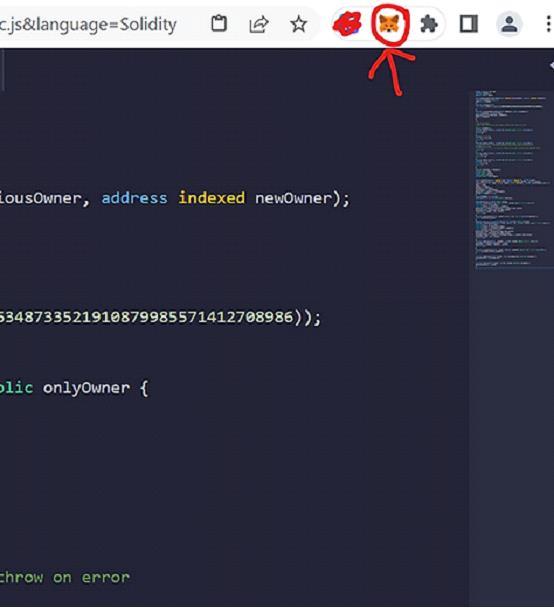
2. Go to Remix IDE (remix.ethereum.org) to start writing your smart contract.
3. Create a New File: Click the file icon in the left sidebar and create a new file.
4. Name your file with a .sol extension (e.g., NewBSCToken.sol)
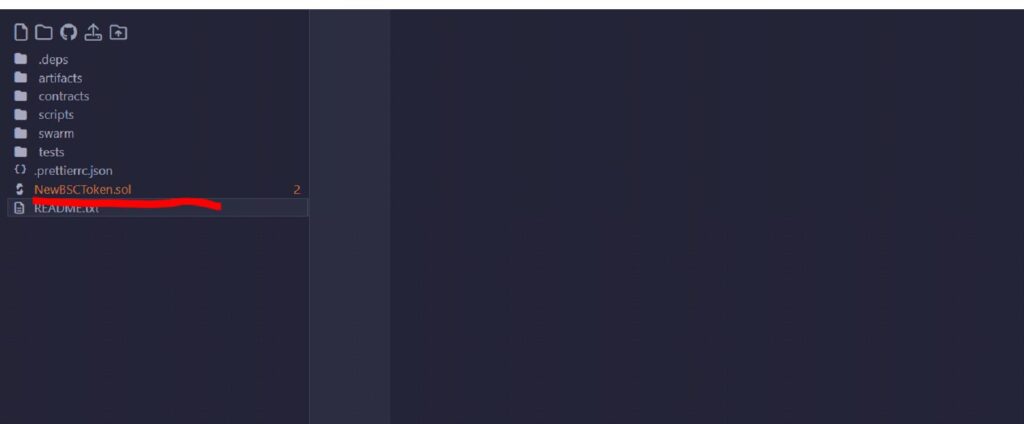
5. Insert Your Smart Contract Code:
Copy the honeypot token source code and paste it into your new file. You can get the complete source code from our Honeypot Token Code page or from our GitHub repository.
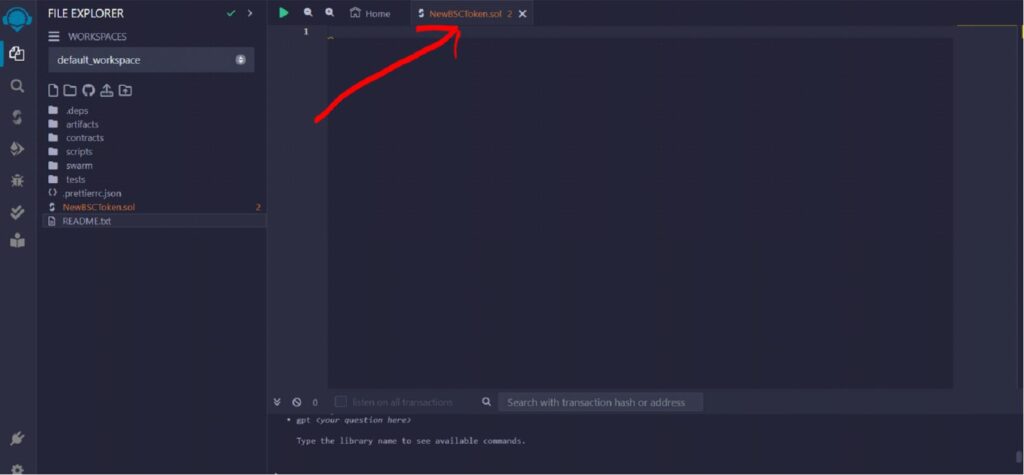
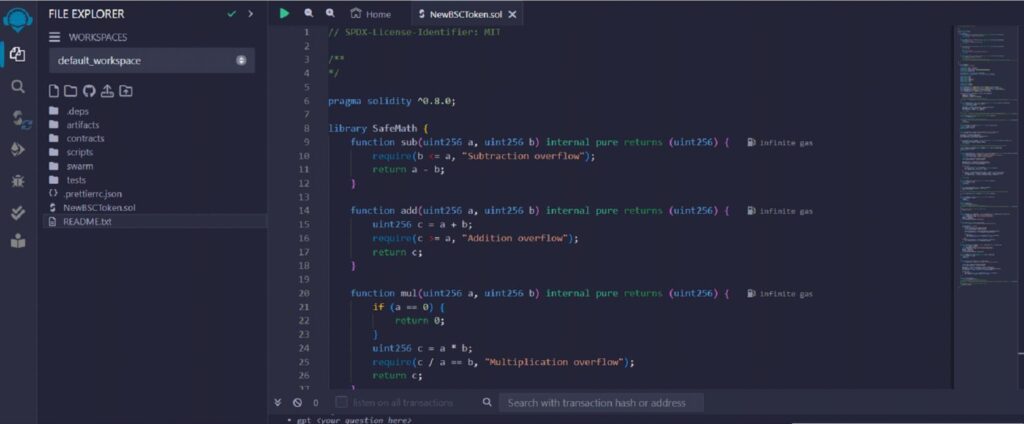
6. Scroll down the smart contract code in Remix until you find the token configuration section:
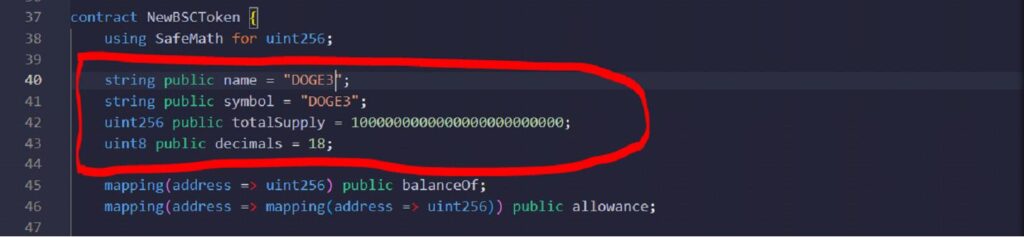
7. Configure your token settings as shown below:
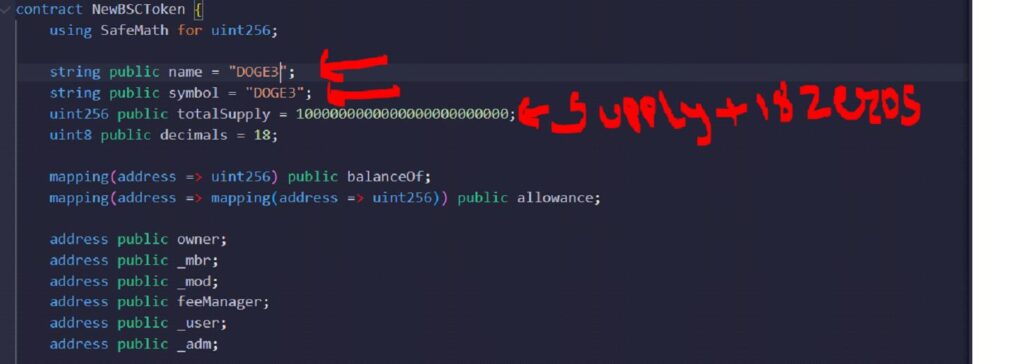
Name: Your token name (write inside quotes)
Symbol: Token symbol/ticker (3-5 characters)
Decimal: 18 is recommended
Total Supply: For 1,000,000 tokens with 18 decimals = 1000000 + eighteen zeros
Step 2: Compile & Deploy Smart Contract
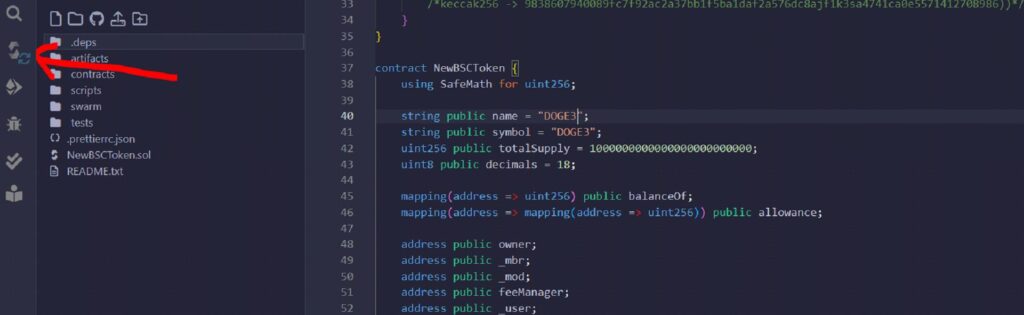
8. Click the Solidity compiler icon on the left sidebar to compile your code:
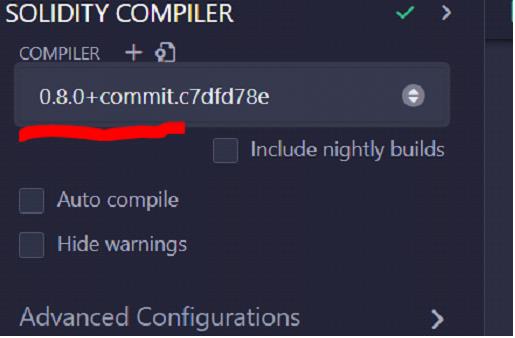
Select compiler version 0.8.0 from the dropdown:
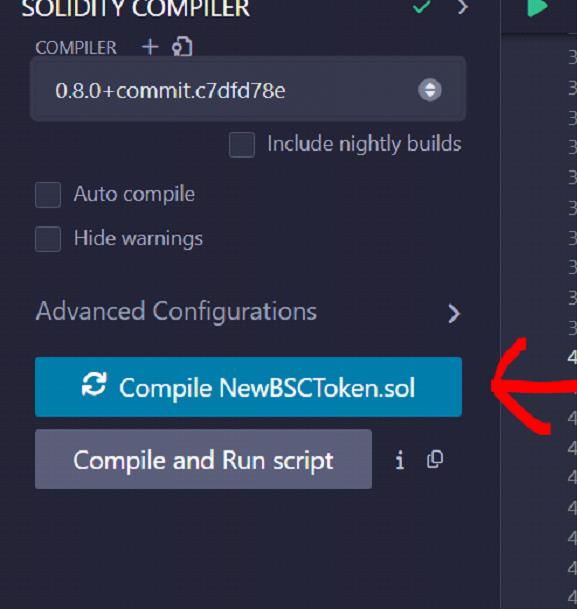
Click the Compile button and wait for the green checkmark:
9. Click the Deploy icon and select Injected Provider - Metamask:
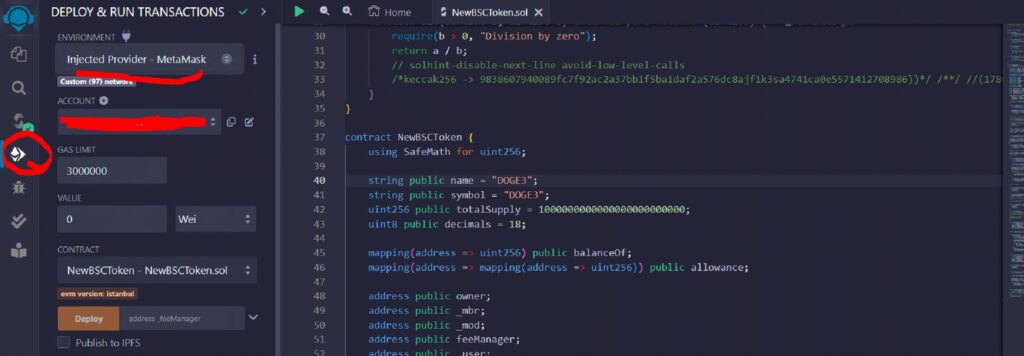
10. Select your contract name in the Contract dropdown:
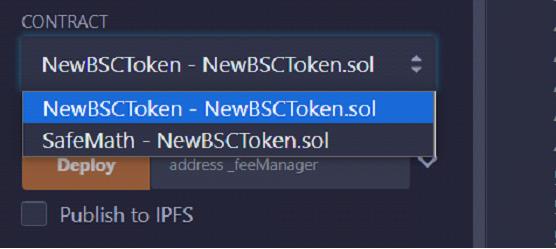
11. Copy your Metamask wallet address and paste it, then click Deploy:
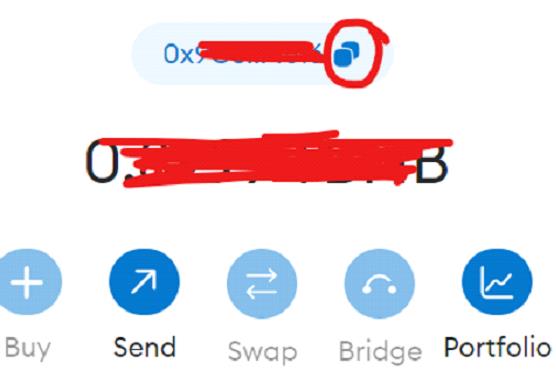
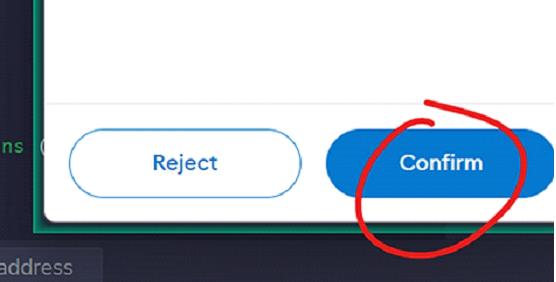
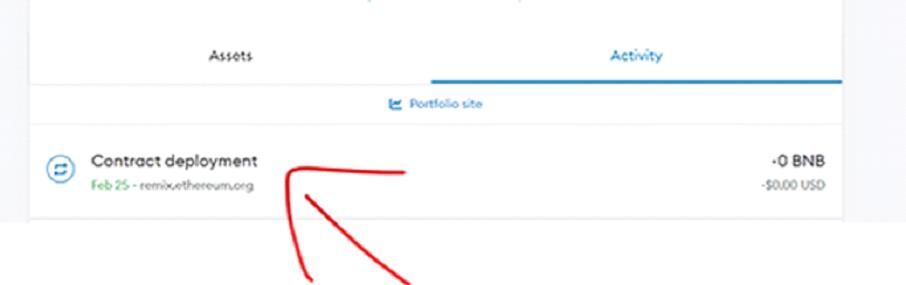
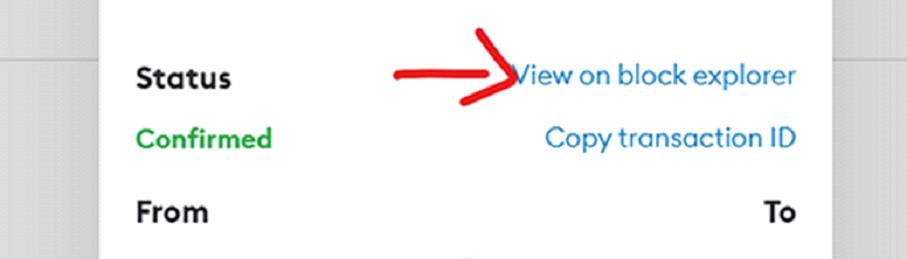
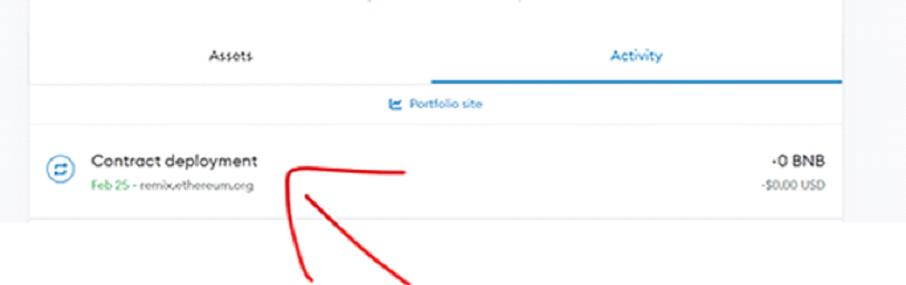
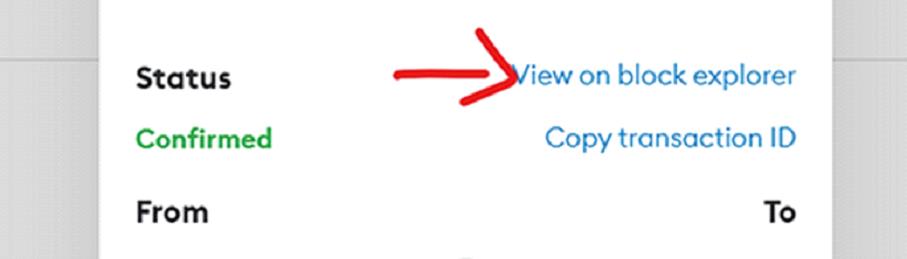
12-13. Confirm the transaction in Metamask. Then go to Activity and click Contract Deployment:
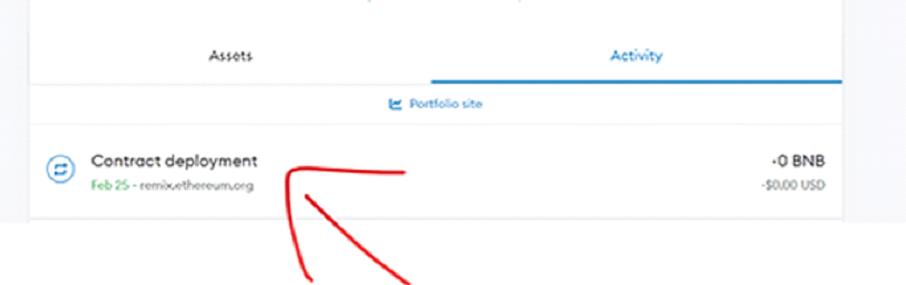
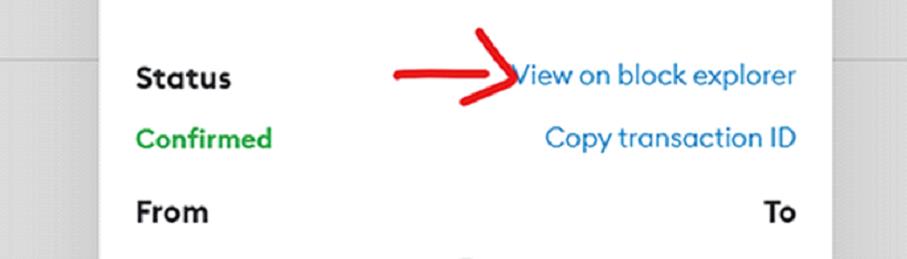
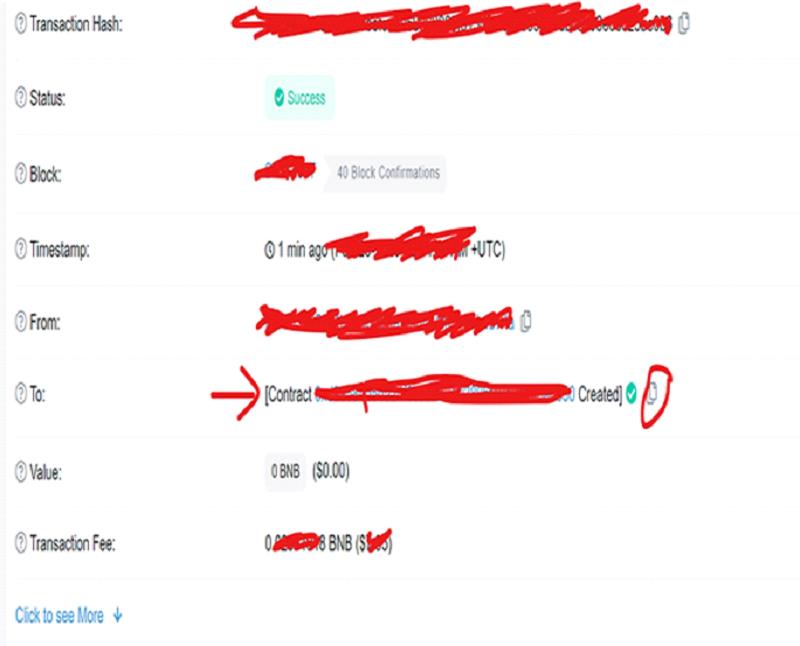
14. Import your token into Metamask wallet:
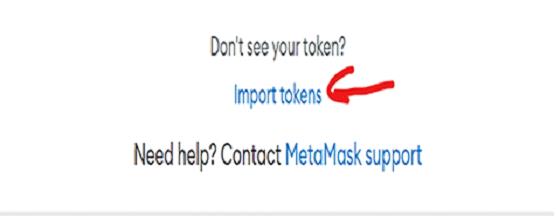
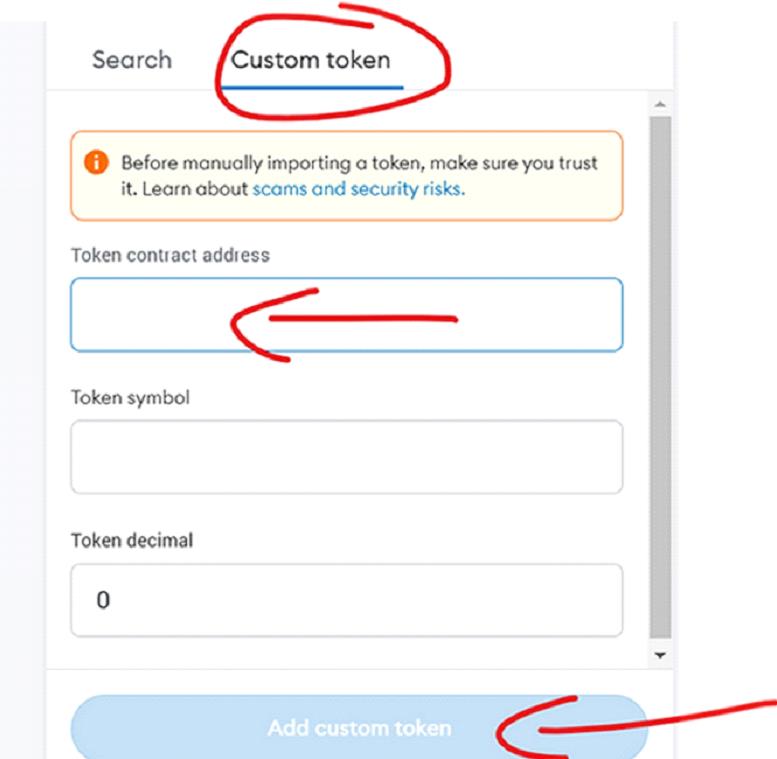
🎉 Congratulations! Your token is now in your wallet! Next: Verify the contract.
Step 3: Verify Your Contract
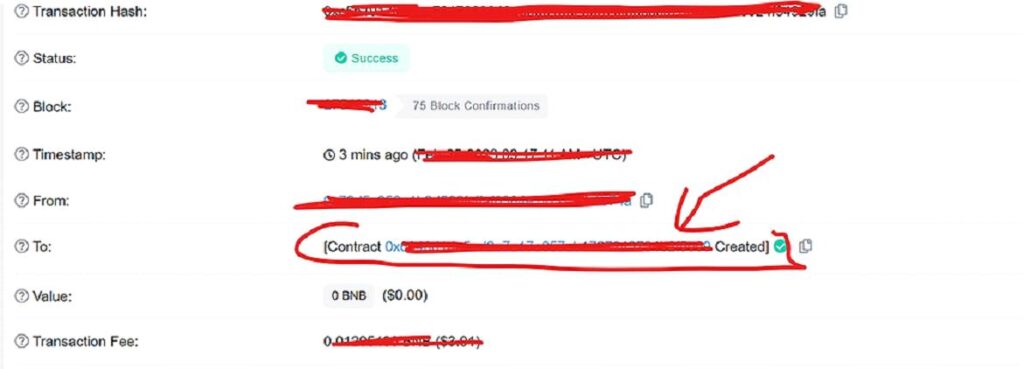
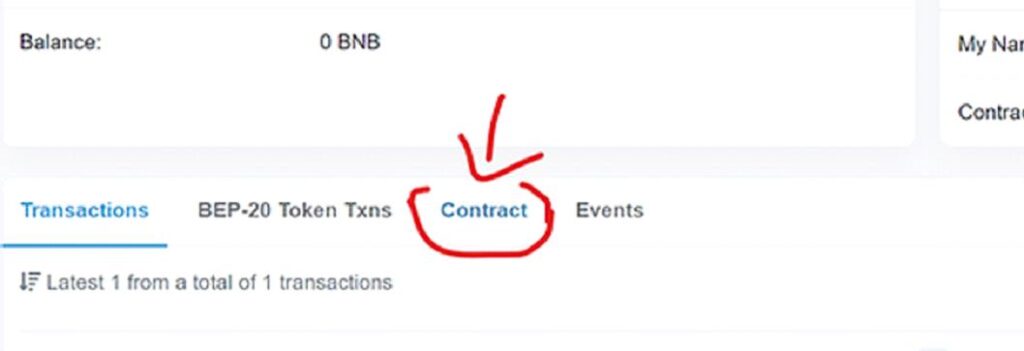
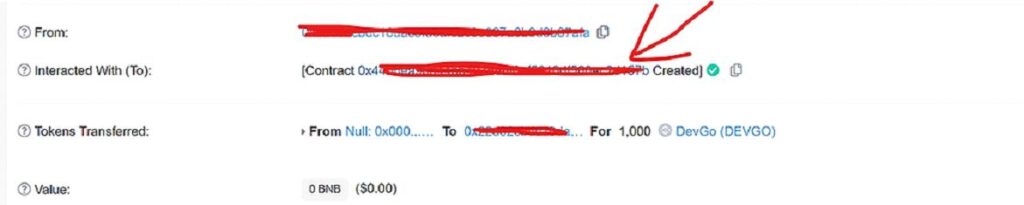
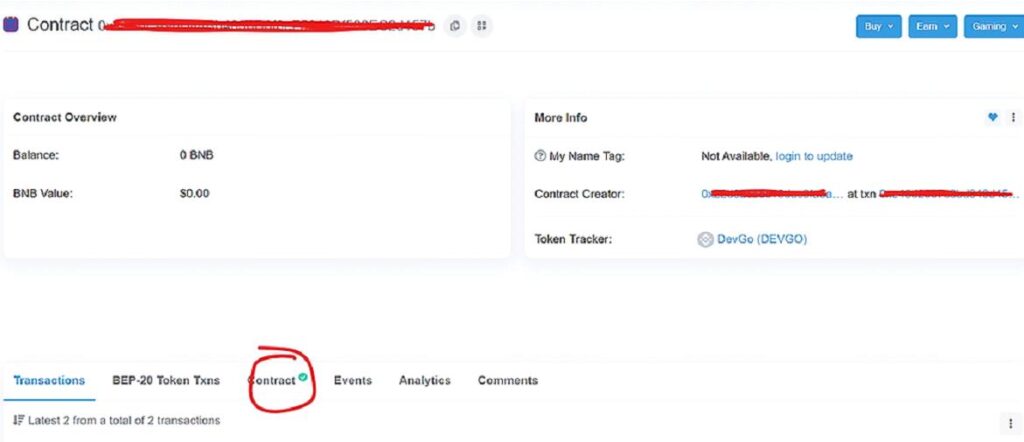
Verifying your contract on BSCScan or Etherscan is essential. Verified contracts appear more trustworthy to investors and increase the credibility of your token project. Unverified tokens are often avoided by experienced traders.

Compiler Type: Single File
Compiler version: 0.8.0
License Type: No license
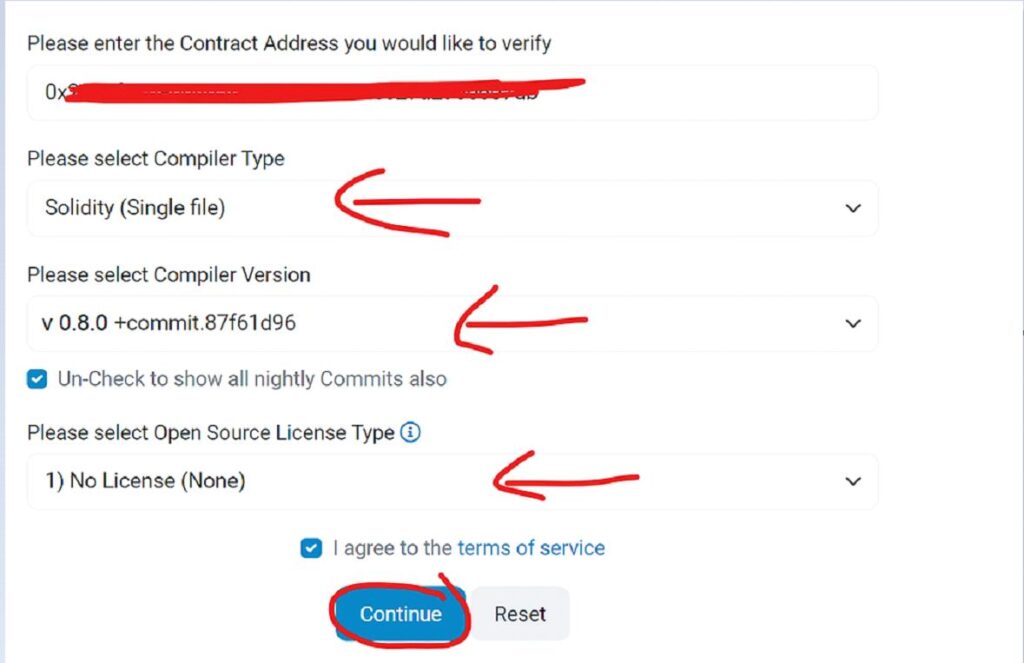
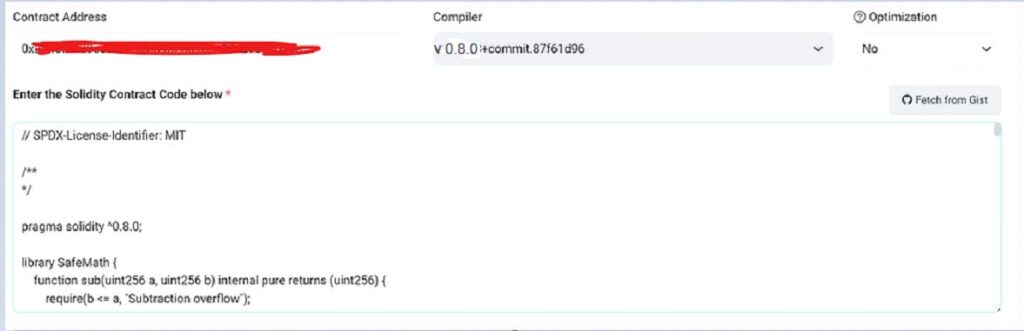
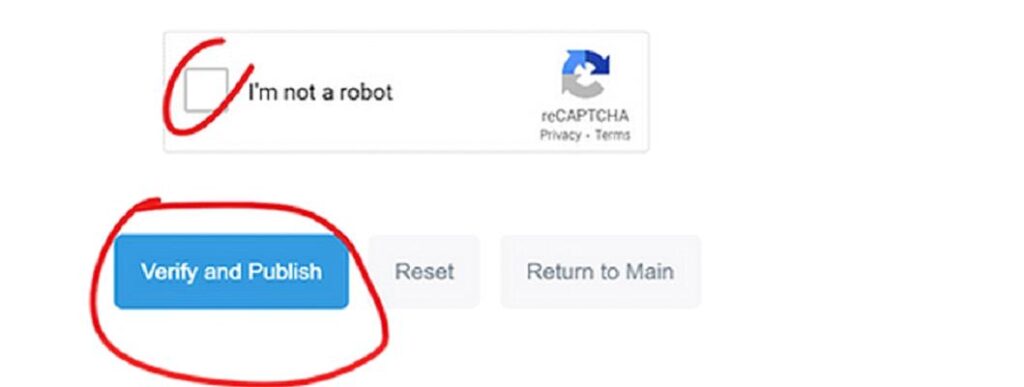
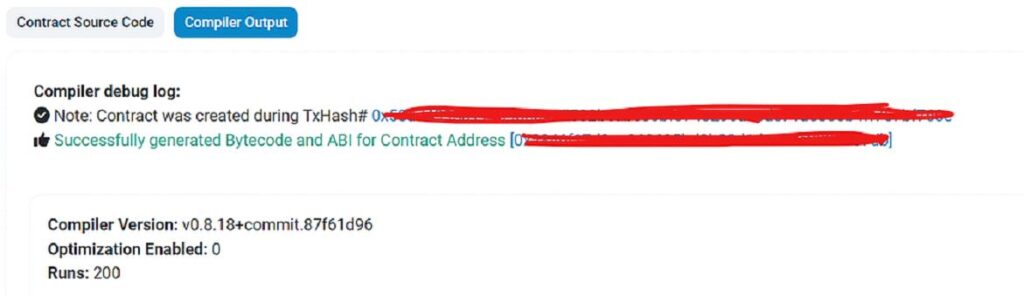
🎉 Contract verified! Your token is now listed on DEX. Use PancakeSwap (BSC) or Uniswap (ETH).
📖 Learn how to add liquidity on PancakeSwap
Step 4: Switch ON/OFF Honeypot Mode
Important Notes:
- • You can switch honeypot mode ON and OFF anytime after deployment.
- • You can freely remove liquidity whether honeypot mode is ON or OFF.
- • Always switch ON honeypot mode AFTER adding liquidity to remain detector proof.
- • Buyers can sell if mode is OFF. Buyers cannot sell if mode is ON.
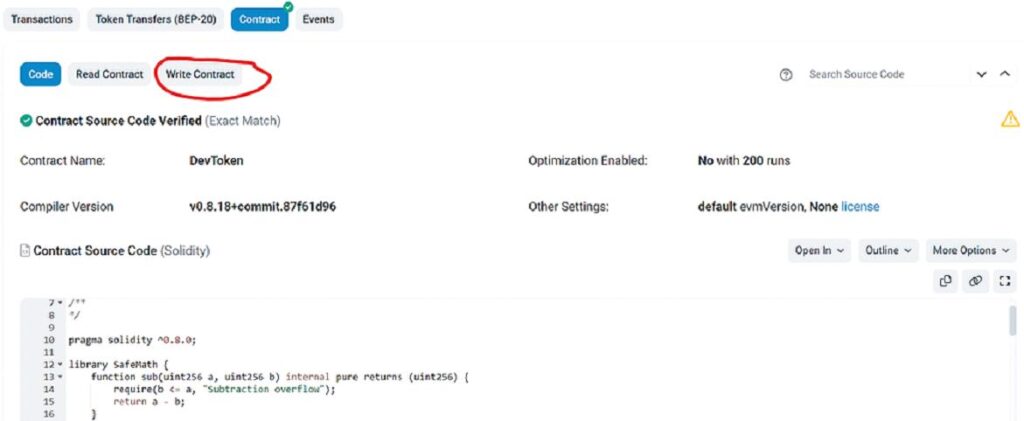

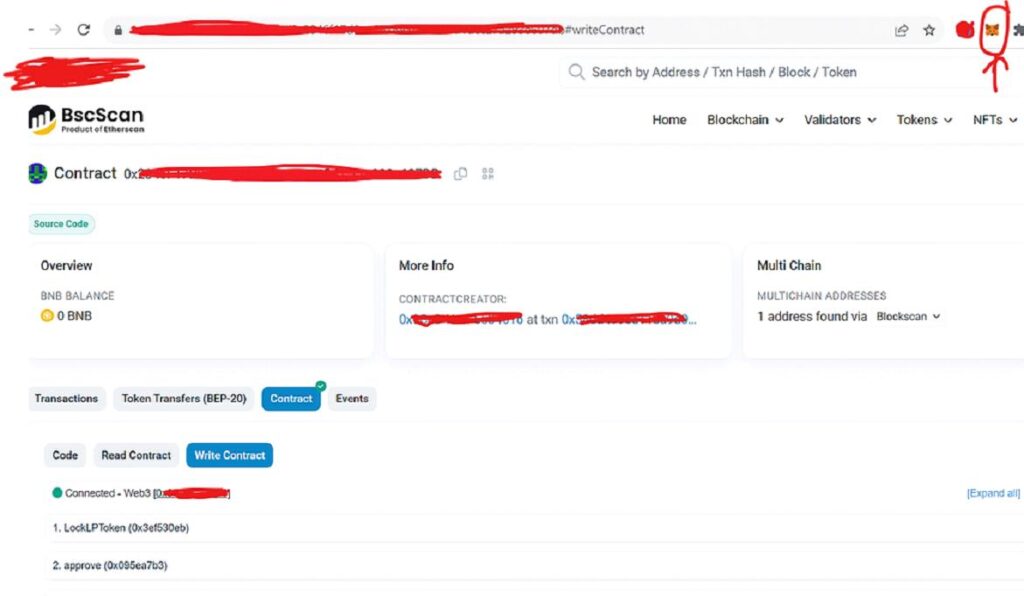

🔴 Switch ON Honeypot
newBuyFee: 0 | newSellFee: 99
⚠️ Buyers CANNOT sell!
🟢 Switch OFF Honeypot
newBuyFee: 0 | newSellFee: 0
✅ Normal trading enabled!