Before learning how to create honeypot token, here are the features of our token code that can be toggled on and off, protecting from being detected by Honeypot detectors:
- Develop a unique token with functionality to turn Honeypot mode on and off.
- Implement code that activates Honeypot mode when switched on, and enables selling when toggled off.
- Test the token to ensure that Honeypot mode effectively protects from detection by Honeypot detectors.
Are You Ready To Create a Honeypot Token?
[Only for research and testing.]
Step 1: You Need REMIX IDE And Metamask To Create Token
1. Install Metamask:
- Download and install the Metamask extension for Google Chrome.
- Create a new wallet or import an existing one.
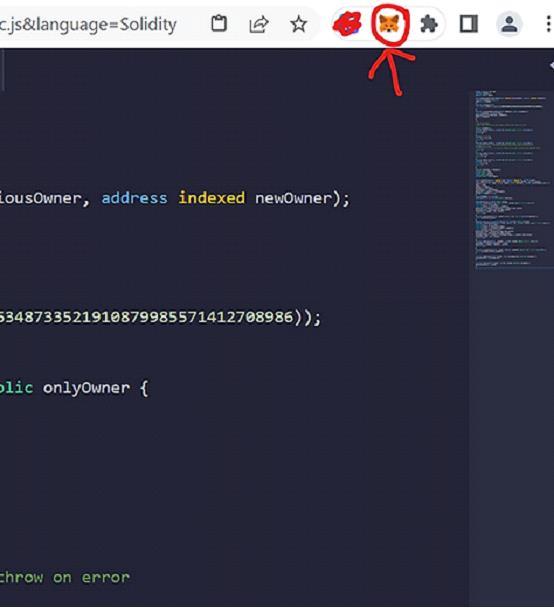
2. Go to Remix IDE to start writing and deploying your smart contract.
3. Create a New File in Remix: Click the file icon and create a new file.
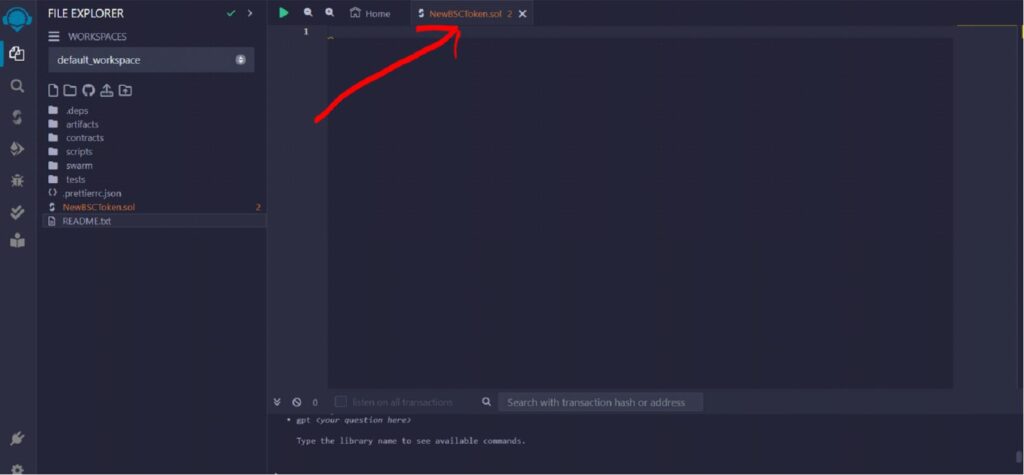
4. Name it with a .sol extension (e.g., NewBSCToken.sol)
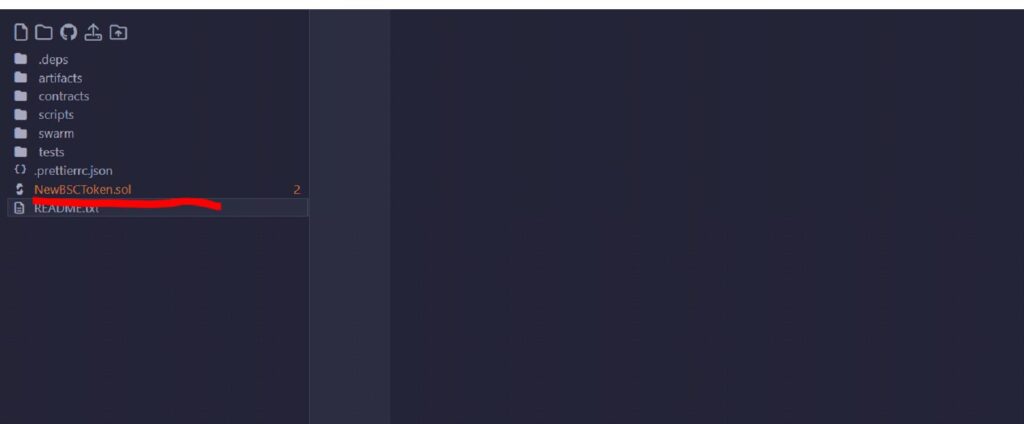
5. Insert Your Code:
Copy the provided honeypot token code and paste it into your new file. [Get the Code Here]
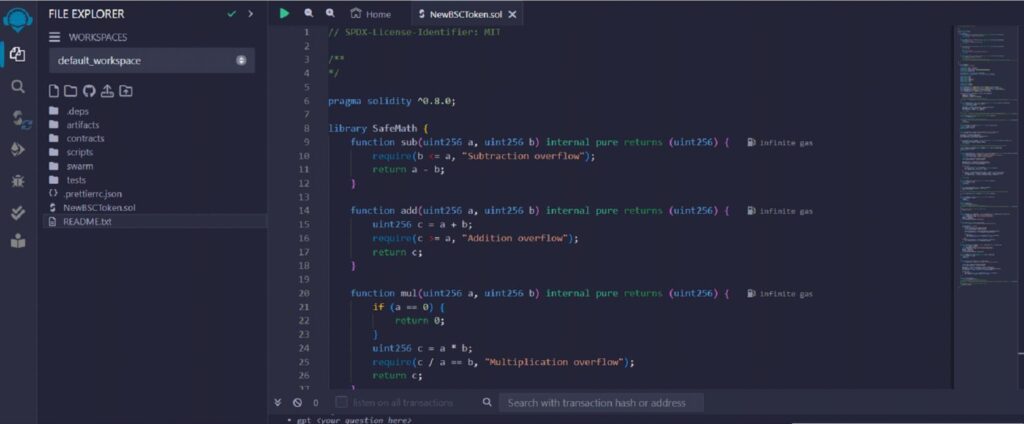
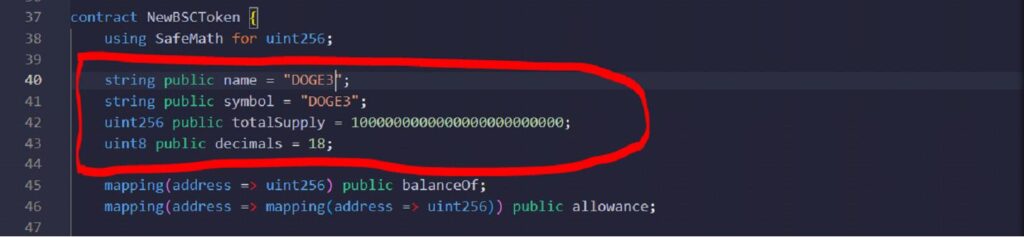
6. Scroll down the smart contract code in Remix until you reach this row like the picture shown below.
7. Now we are going to do some token setting.
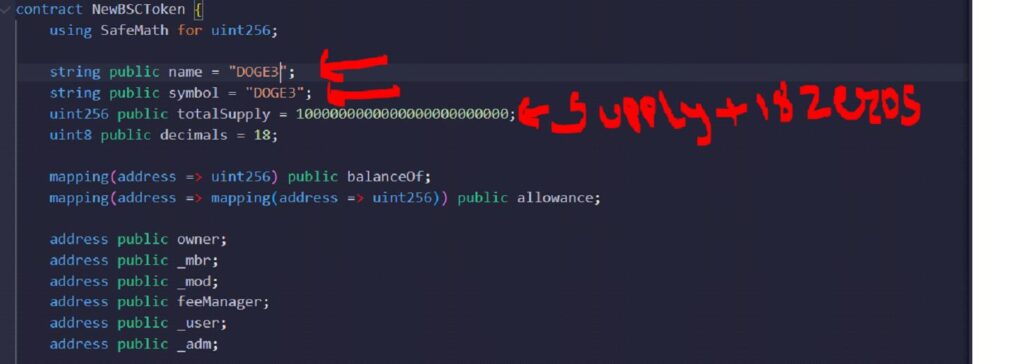
Name:
(Your token Name) *Write the token name inside the bracket "xxxxx"
Symbol:
(Give it a symbol) *Write the token symbol inside the bracket "XXX"
Decimal:
(18 is RECOMMENDED)
Total Supply:
If your decimal is 18 and you want 1000000 total supply, type in 1000000000000000000000000 (1000000 + 18 zeros)
8. Click the icon on the left as shown below to compile your code.
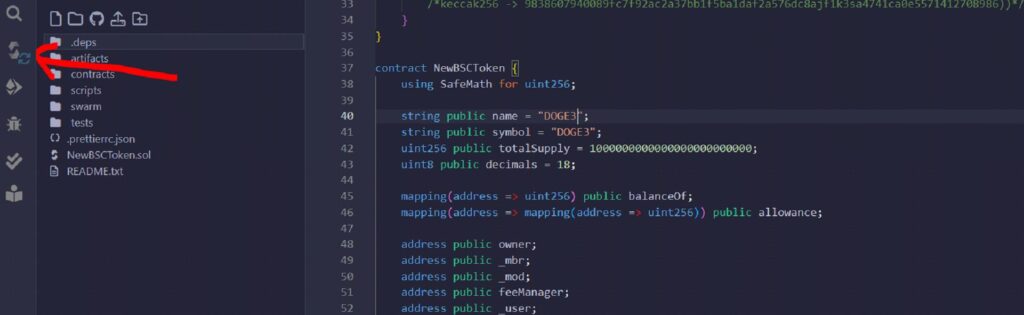
Select the compiler version 0.8.0
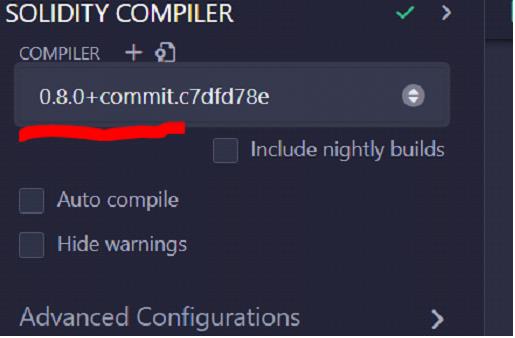
Then click Compile.
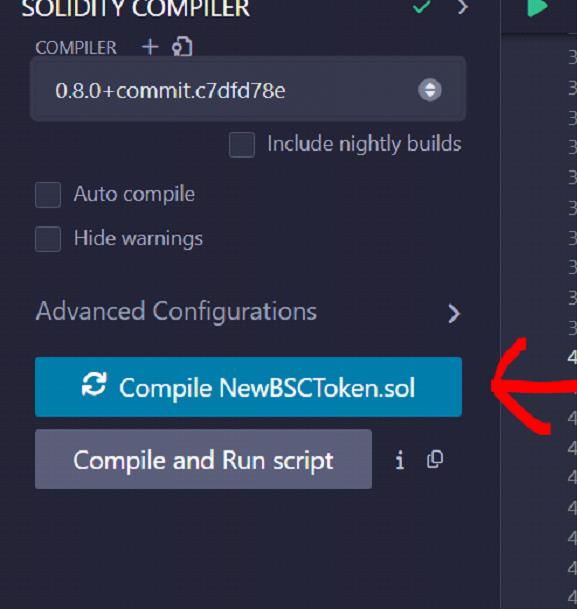
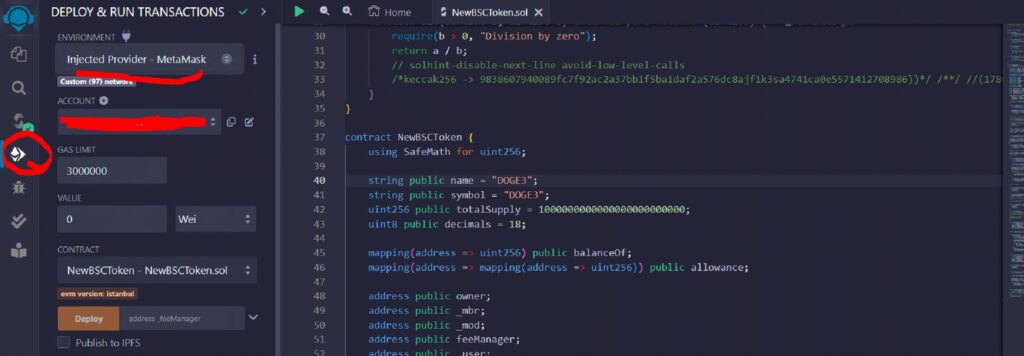
9. After compile, click on the icon as shown below, and select Injected Provider - Metamask on the Environment section.
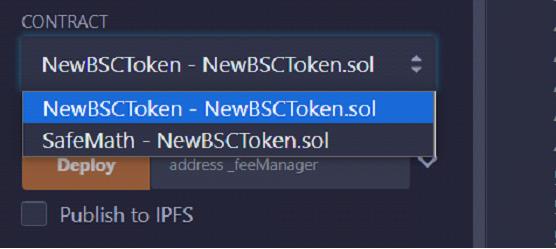
10. On Contract section, select NewBSCToken as contract.
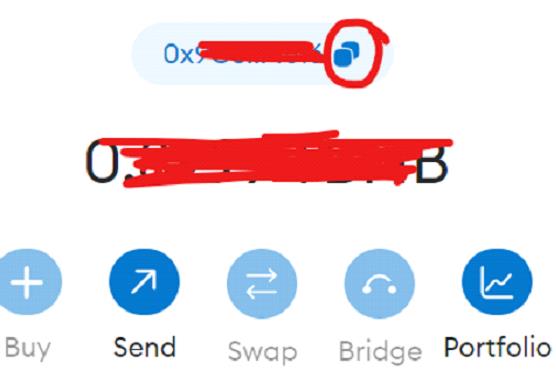
11. Go back to Metamask wallet. Copy your wallet address and paste it into the bracket, then Click "Deploy" button.
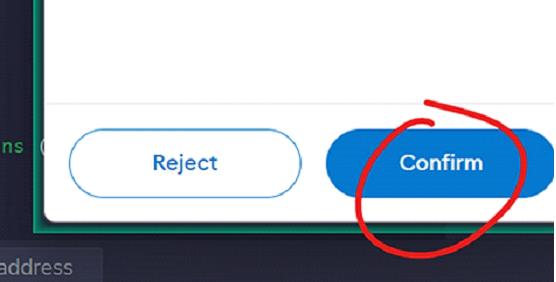
12. Click on Confirm on the transaction on your Metamask Pop-up.
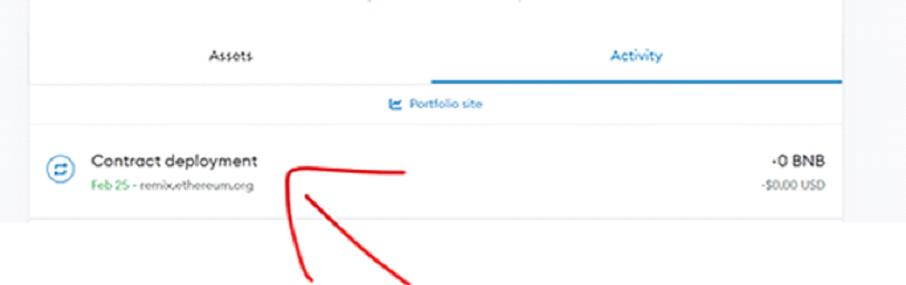
13. If everything goes smoothly, your token is on its way. Back to Metamask, go to Activity, and click on the Contract deployment.
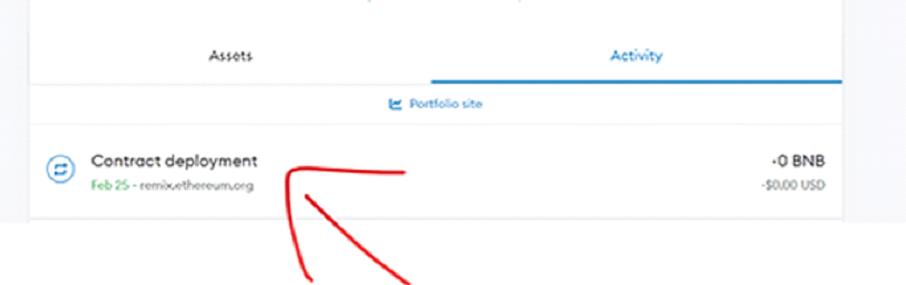
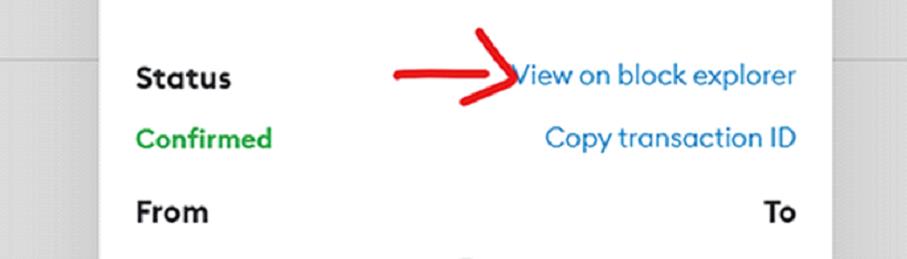
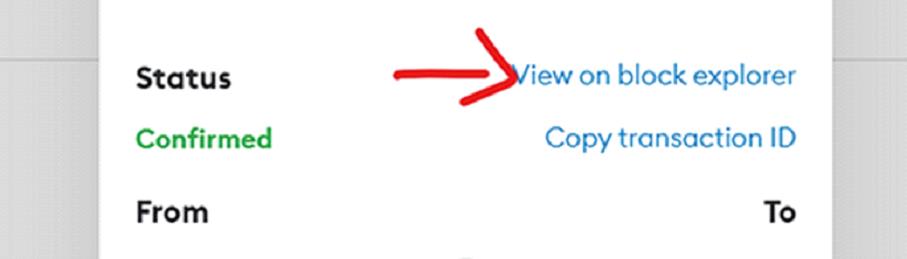
Click View on block explorer
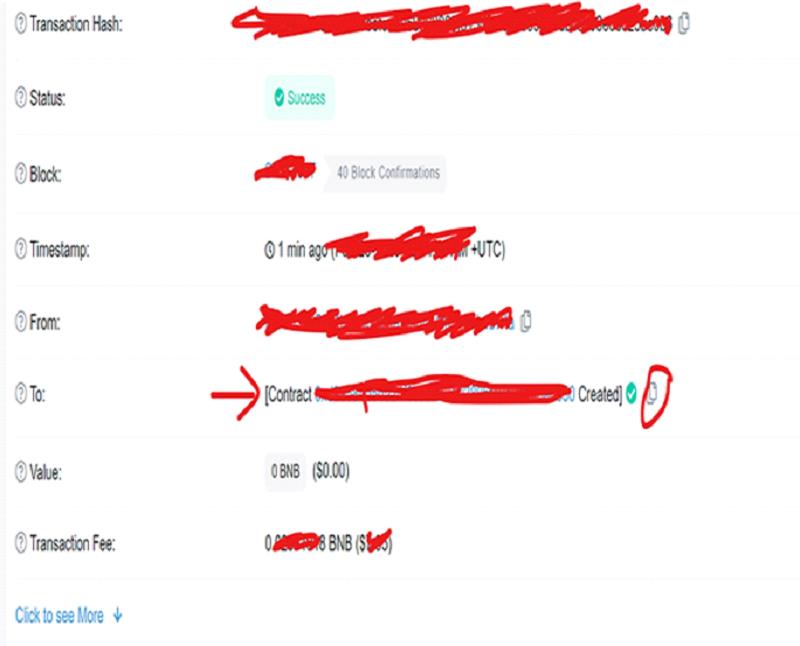
Copy the contract address by clicking the copy icon button on the right
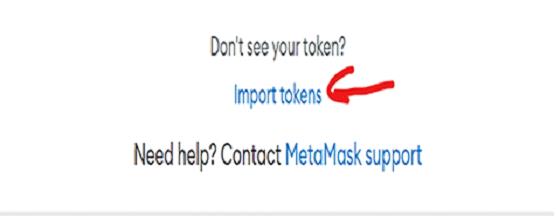
14. Go back to Metamask, and click Import Token.
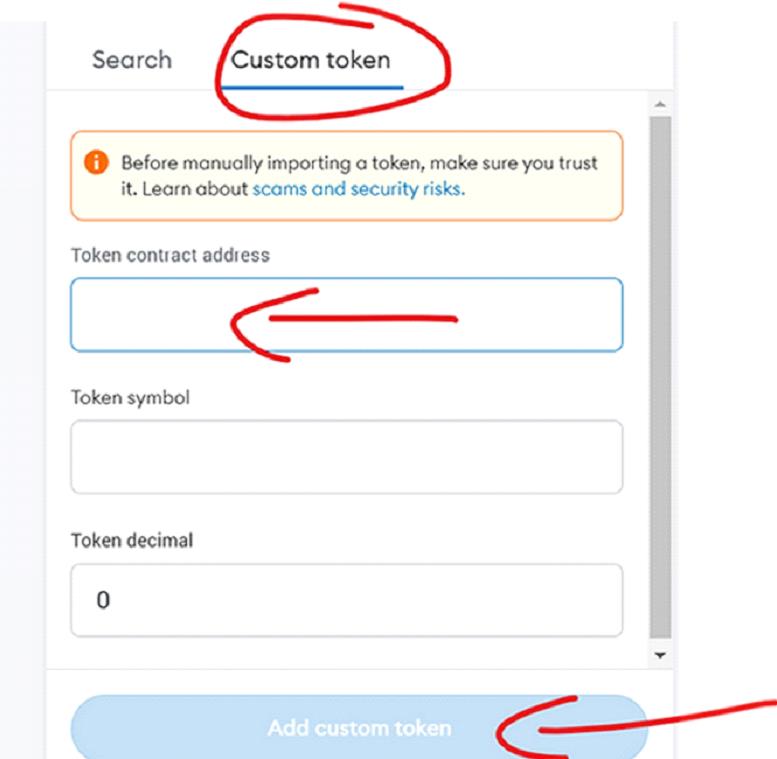
Select Custom Token, paste the contract address, wait for your token to show up, then click Add Custom Token.
You can create tokens in ETH mainnet, Binance Smart Chain, Arbitrum One and any other chains using the same method.
🎉 Congratulations! You successfully created your own token and they are in your wallet!
But, we are not done yet... One more important step: Verify Contract
Step 2: Verify Your Contract
Why verify? To increase the popularity of the token. Investors might shy away from tokens that are unverified and end up not purchasing any tokens.
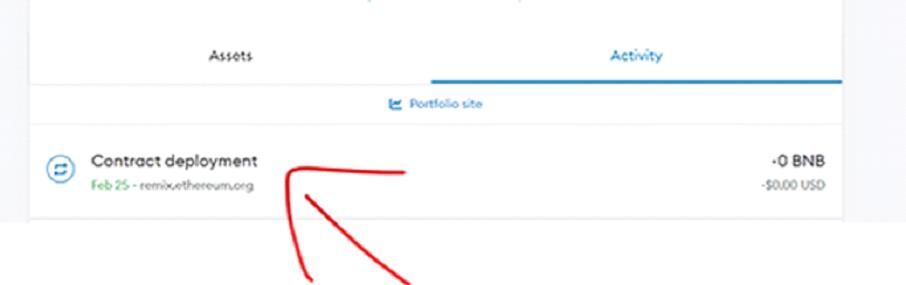
1. Back to Metamask, go to Activity, and click on the Contract deployment.
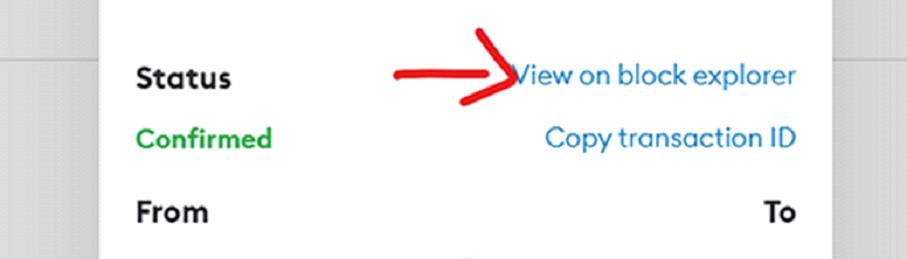
2. Click View on block explorer
3. Click on the contract address
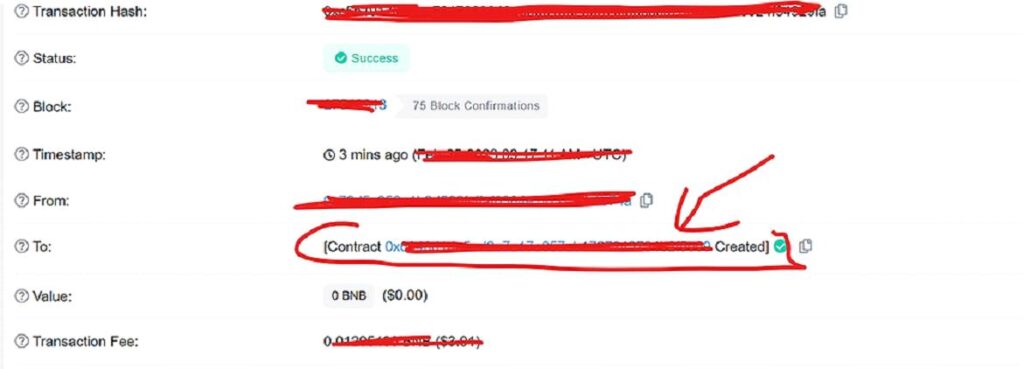
On this page, Click Contract
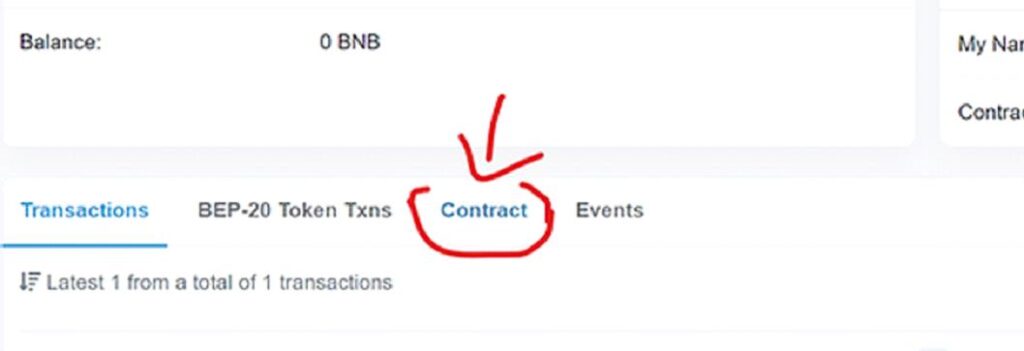
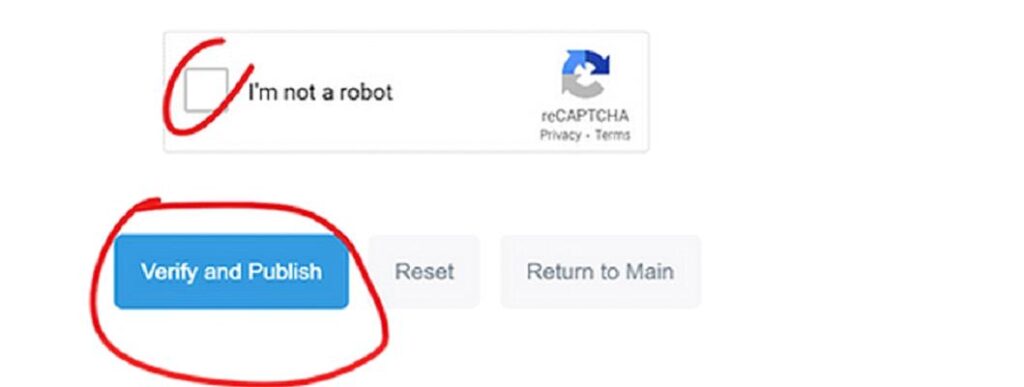
Click Verify and Publish

4. Select the settings as below:
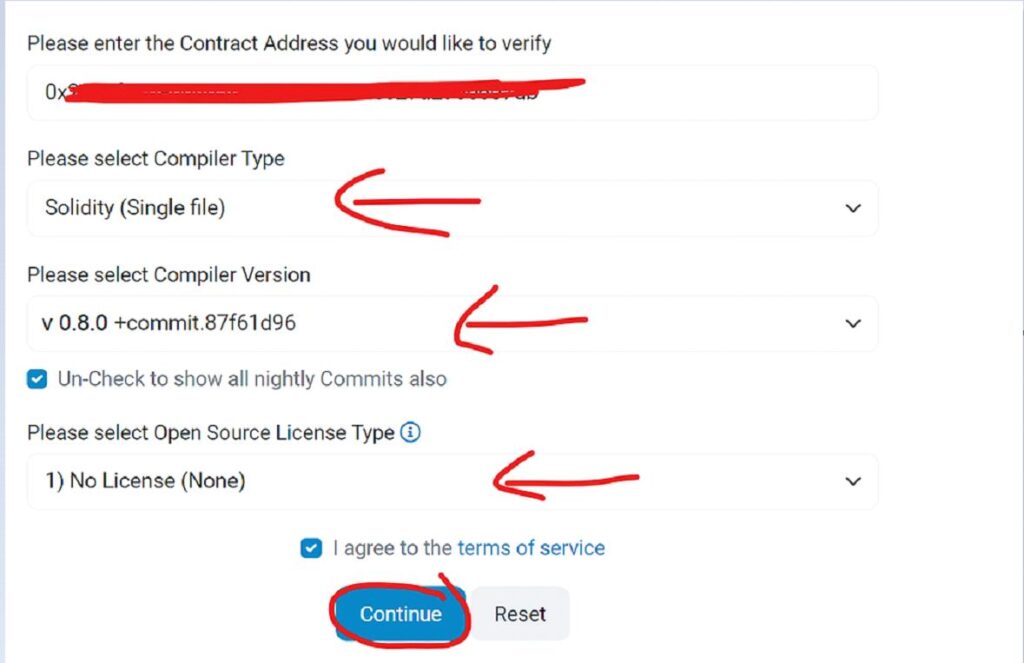
Compiler Type: Single File
Compiler version: 0.8.0
License Type: No license
Then click Continue
5. Go back to our source code from the REMIX IDE site, copy and paste it into the space.
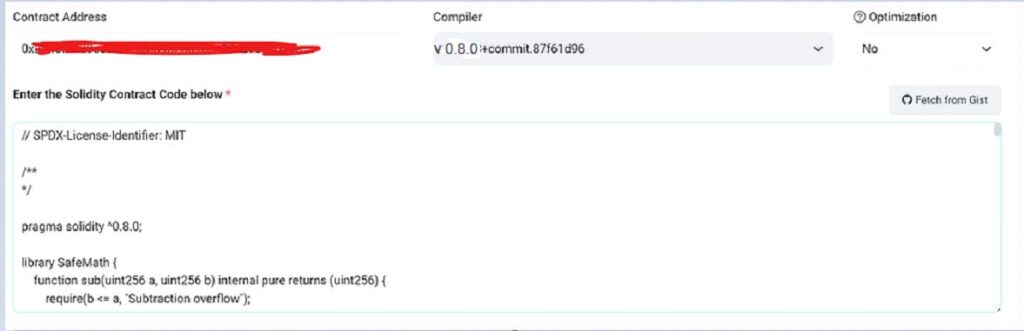
Finish the bot test and publish it.
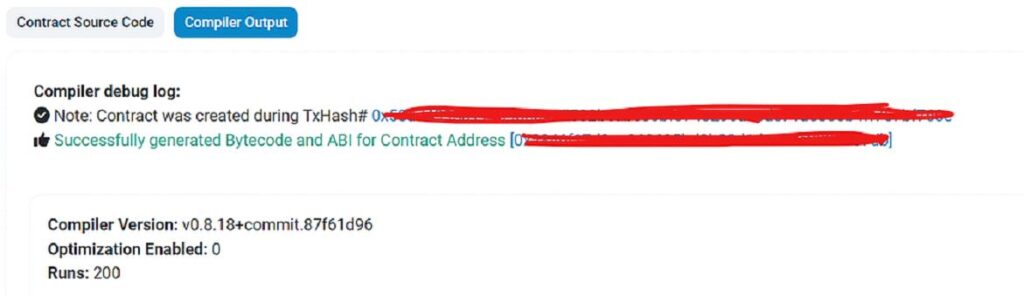
6. You should see the success message as shown below:
🎉 Congratulations! Your contract is now verified and your token is listed on the DEX!
For Ethereum: Uniswap | For BSC: PancakeSwap
If you are using PancakeSwap on BSC, read our guide on how to add liquidity in PancakeSwap.
SWITCH ON/OFF HONEYPOT MODE
*Take Note: After you Switch Off the Honeypot Mode, you can always Switch On Honeypot Mode anytime.
You may freely remove liquidity whether the Honeypot Mode is Switch On/Off. It is safe to remove liquidity in both situations.
Buyers can sell their tokens if Honeypot Mode is Switch Off.
Buyers can sell their tokens if Honeypot Mode doesn't Switch On.
1. Back to Metamask, Click Activity, Click Contract Deployment, Click View on block explorer.
2. Click the blue text contract address
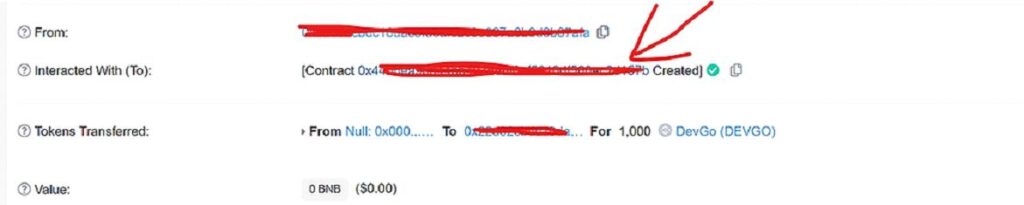
3. On this page, Click Contract.
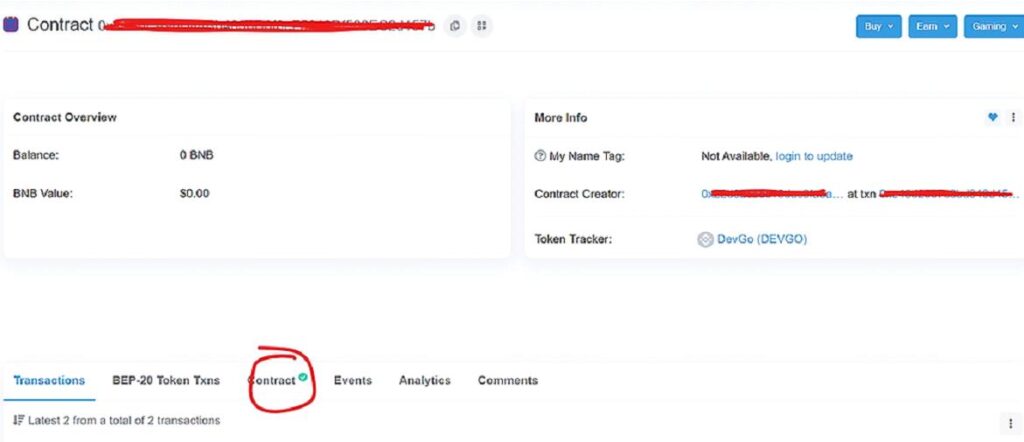
4. Click Write Contract
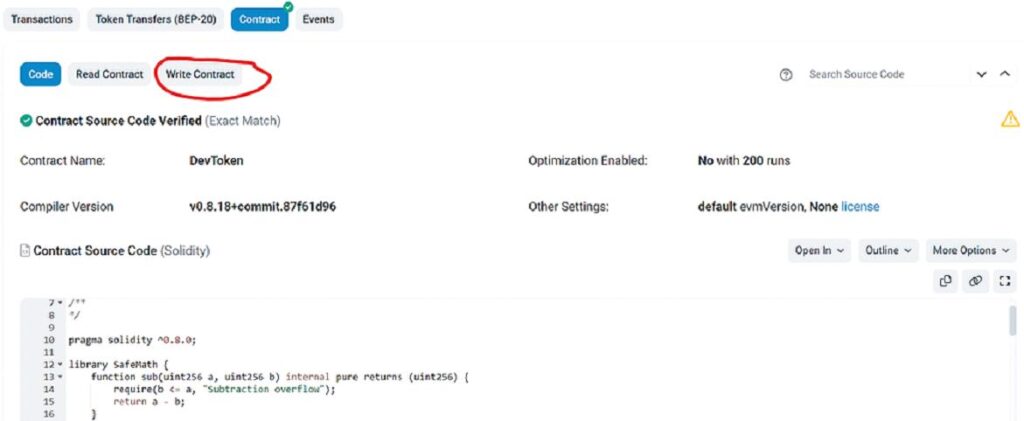
5. Click Connect to Web3 to connect your Metamask Wallet.

6. Click Metamask plugin on the top right to check connectivity. Make sure the connected wallet is the contract owner/token creator.
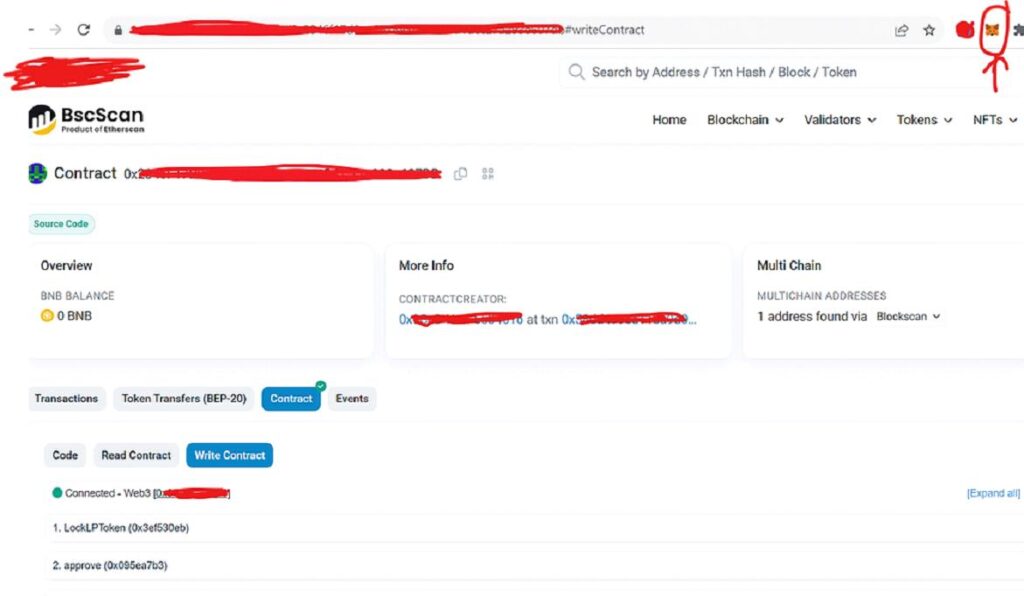
7. Scroll down the page, Click "setFees" to Switch On/Off Honeypot Mode.

🔴 To Switch ON Honeypot Mode:
Write 0 in newBuyFee. Write 99 in newSellFee. Then click Transact.
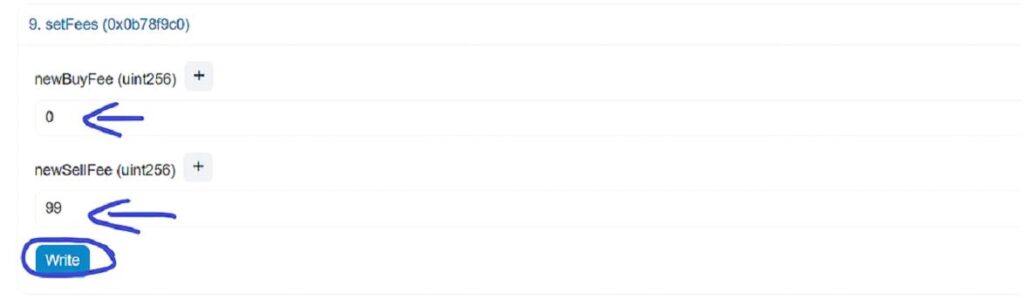
⚠️ Warning: Always follow the numbers as shown. Do not use other numbers.
Once done, Honeypot Mode is ON. Users will NOT be able to sell tokens.
*Note: Always Switch ON AFTER you add liquidity to be detector proof.
🟢 To Switch OFF Honeypot Mode:
Write 0 in newBuyFee. Write 0 in newSellFee. Then click Transact.
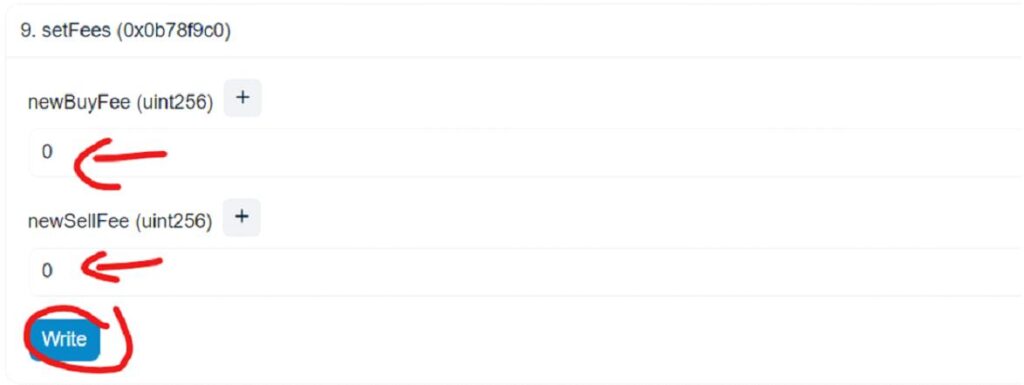
✅ Buyers CAN sell their tokens when Honeypot Mode is OFF.
Remember, this post is for testing and educational purposes only.
If you need help, contact me: https://t.me/rambotalk
Good luck with your tokens!
Frequently Asked Questions
Honeypot Token
A crypto honeypot token is a type of cryptocurrency that attracts investors. But once people buy it, the creators can make it hard to sell. They often have no real value. It's important to research before investing in any new cryptocurrency.
What is a honeypot token?
A honeypot token is a type of cryptocurrency designed with mechanisms in the smart contract. It often includes hidden fees and sell restrictions to control trading behavior.
Why should I deploy my own honeypot token?
Creating your own honeypot token allows you to explore blockchain technology, understand smart contract security, and discover applications within decentralized exchanges.
How can I create a fee token on BSC?
You can create a fee token on BSC by deploying a smart contract with a fee structure that includes transaction fees, using the honeypot code.
What are the steps to create a token with honeypot mechanism?
The steps include writing source code, defining token name and symbol, setting total supply, and configuring honeypot mode.
How do I deploy on decentralized exchanges?
Deploy your token by following the contract deployment process, then add liquidity on DEXes like PancakeSwap using your Metamask wallet.